How to Do Polka Dot Nails: Dotting Techniques with Semilac UV Hybrid
Polka dot nails are easier than they look. Learn how to use dotting tools, create evenly spaced patterns, and seal your design for long-lasting wear.
The whole look stands or falls on one thing: dots that land the same size, sit evenly, and finish perfectly flat. Get the tool, the gel consistency, and the spacing right, and polka dot nails read as deliberate art rather than a rushed afterthought. This guide walks through the tools worth keeping at the desk, the dotting motion that gives you round dots every time, and how to seal everything so nothing smudges. Let’s get technical!
Here is what this guide covers:
- which tools give you consistent dots and how to improvise without them
- how to space and place dots so the pattern reads as intentional
- how to seal dots flat so they vanish under the top coat instead of catching it
What tools do you need for polka dot nails?
A dedicated dotting tool gives you the cleanest result, but a bobby pin, the rounded end of a brush handle, or even a toothpick all work in a pinch. What matters more than the tool is the gel sitting on it: thick enough to hold a domed bead, fluid enough to release in one clean touch. A fresh, clean tip also matters: any dried gel on the ball creates drag and breaks the symmetry of the dot before it even lands.
The shades that earn their place in a dot kit:
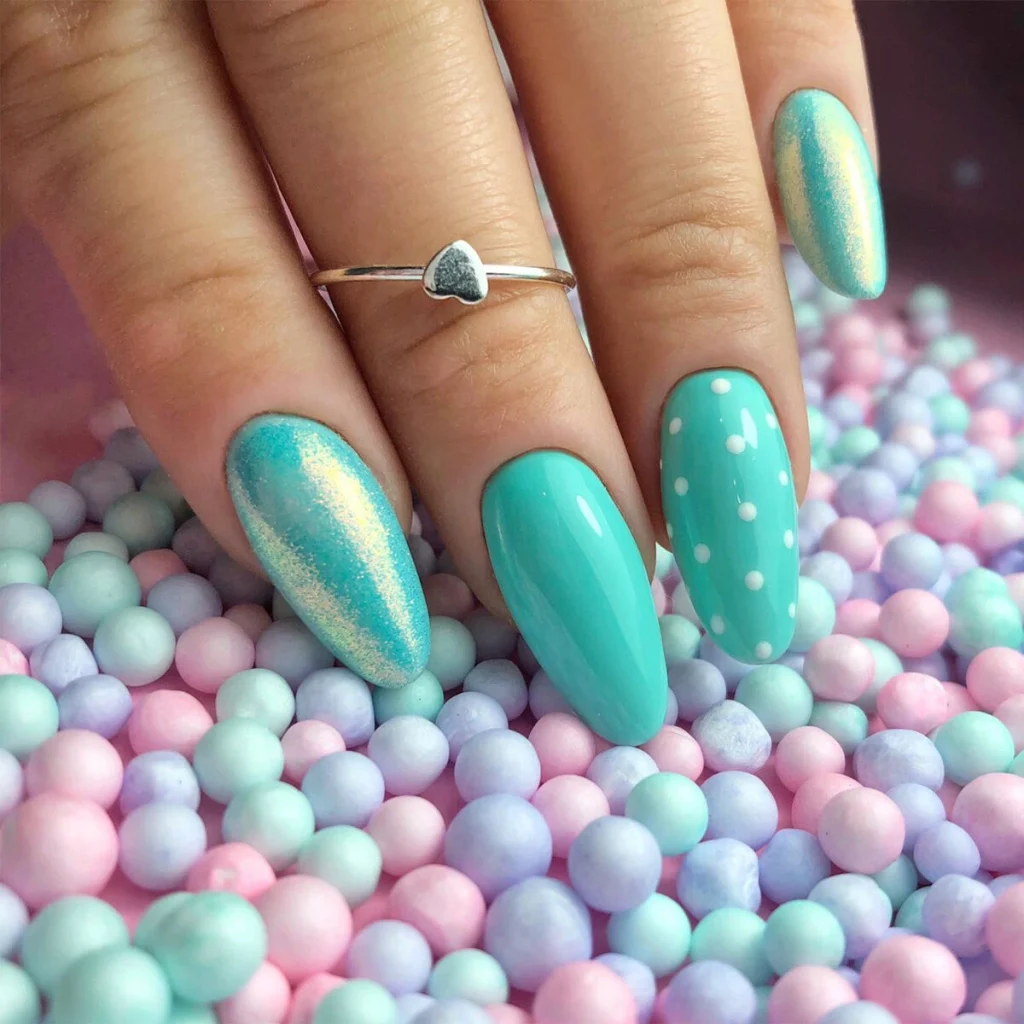
- Mint 022: a soft pastel that keeps a crisp edge against pale or nude bases
- Strong White 001: a dense, opaque white that covers in a single dot, no halo or patchiness
- Flash Mermaid 683: a powder finish for dots that pick up light and shift across the nail
How to do polka dot nails step by step
Start over a fully cured base color so the surface is smooth and the dots have something firm to grip. Work one or two nails at a time, since uncured gel stays workable and gives you room to correct before it sets. Keeping the work area well lit at this stage makes it far easier to catch a misplaced dot early, before it cures into the design.
Using a dotting tool vs a brush
A dotting tool wins on roundness because its metal ball releases a clean, symmetrical bead every time. A brush tip can do the job, but it tends to drag and leave a comma shape rather than a true circle. Load the tool by dipping just the ball, not the shaft — gel on the shaft loses control fast.
Keeping dots even and round
Touch the loaded tool straight down and lift straight up, with no twist or drag in between. The single most reliable habit is to re-dip for every two to three dots so the bead size stays consistent across the nail. Wiping the tip clean before each dip removes gel buildup that would otherwise change the bead diameter mid-set.
Spacing and placement
Map the layout in your head before the first dot lands, because gel is far harder to undo than to place well. A loose, slightly irregular scatter usually looks more intentional than a rigid grid, which exposes every dot that sits a hair off. Placing the anchor dots at the corners and center first gives you a frame to fill in, rather than working freehand from one end and running out of space at the other.
How to seal dots flat under the top coat
Cure the dots fully before any top coat goes on, or the brush will smear a still-soft dot straight across the design. Dots add height, so the goal is to bury that texture rather than trace over it. Float the top coat on in one pass without pressing the brush into the dots, letting the gel self-level around each one.
If a single thick layer leaves dots poking through, two thin coats with a full cure between them level the surface far better than one heavy flood. A Semilac UV Hybrid base and a matching cured top build a smooth, glassy finish where the dots feel painted in, not stuck on. Running the tip of the top coat brush once around the perimeter of each dot (rather than across it) also reduces the chance of dragging the shape out of round.
Pro tips for clean, long-lasting dots
Wipe the tool on a lint-free pad between colors, because dried gel on the ball is the hidden reason dots start coming out ragged. For polka dot nails that have to survive weeks of wear, anchor the design over a soak-off Gel Nail Polish base and cap the free edge with your top coat to stop the pattern lifting at the tip. Once the basics feel automatic, mixing palettes opens up the look, and our guide to creative color combinations is a good place to plan which shades sit well together.
In our experience, the techs who get the cleanest results slow down on the first nail and treat it as a test, then repeat the same rhythm across the rest of the set. That first nail reveals whether the gel consistency is right, whether the re-dip interval is working, and whether the spacing reads well at actual nail scale. Fixing all three on nail one costs about two minutes; fixing them on nail eight costs a full redo.
Frequently asked questions about polka dot nails
Do I need a special tool to make dots?
A dotting tool gives the most consistent dots, but a bobby pin, a toothpick, or the rounded end of a brush handle all produce clean dots once you control the gel and the pressure.
How do I keep the dots from smudging?
Cure each layer of dots fully before applying the top coat, then float the top coat on in a single light pass so the brush never drags a soft dot across the design.
Why do my dots come out uneven?
Re-dip the tool every two to three dots so the bead stays the same size and dome across the nail.