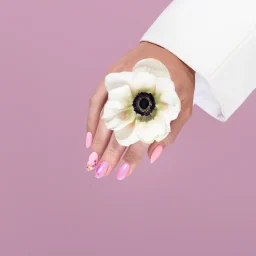
How to Paint Citrus Nails: Lemon & Orange Slices with Semilac UV Hybrid
Struggling with patchy yellow polish? Master citrus nails designs with simple techniques that keep every citrus detail clean and vibrant.
One fruit teaches the brush control, the other tests it. Lemon slices forgive a slightly uneven hand, while orange segments punish any wobble, so citrus nails are best learned in that order. This guide walks the whole sequence: the colors that read as fruit, the brushwork for clean wedges, and the layering trick that finally gives you a bright, opaque yellow. Master the lemon, then earn the orange!
Here is what this guide covers:
- which shades read as real citrus on the nail
- how to paint lemon and orange wedges cleanly
- why yellow turns patchy and how to fix it
What you need for citrus nails
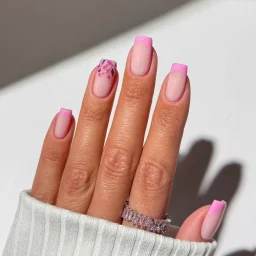
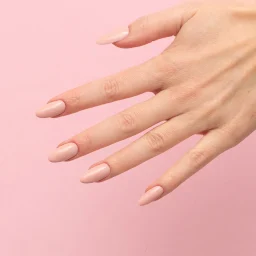
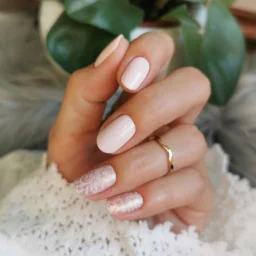
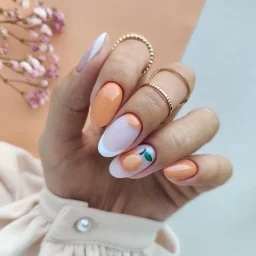
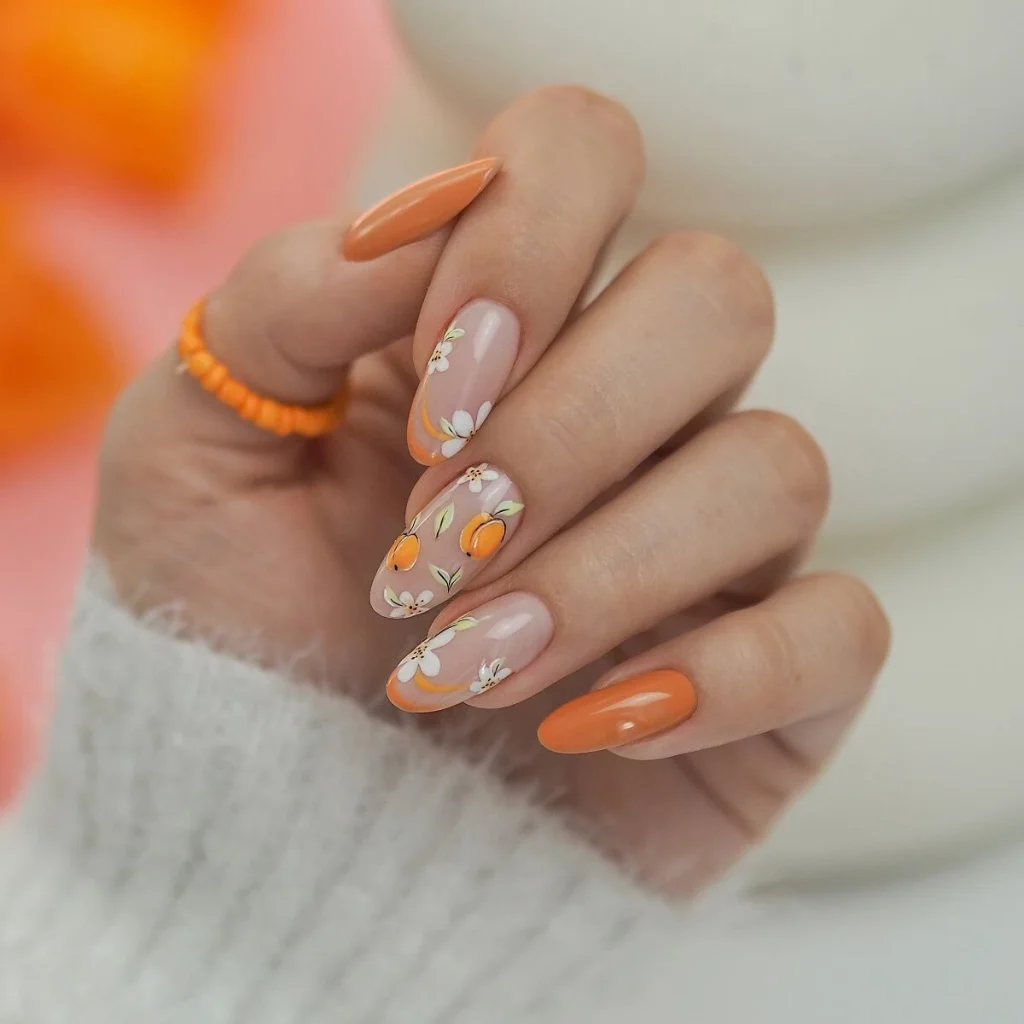
The look pairs warm orange almond nails with one or two nude accents carrying small white flowers. From that citrus vibe this guide builds painted fruit, so the palette is a punchy yellow, a warm orange, a clean white for segment lines, and a soft base for the accents.
The shades and bases that do the work here:
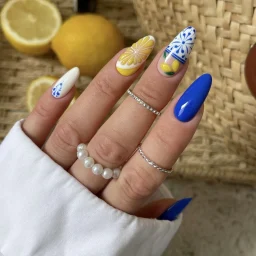
- Luminous Lemon 604: the citrus yellow for the lemon flesh and rind
- Apricot Crush 600: the warm orange for the almond nails and orange segments
- Strong White 001: opaque white for pith, dividing lines, and a yellow underlayer
- Cover Base Natural Pink: the soft nude for the accent nail that holds the slice
Keep two brushes within reach: a short detail brush for outlines and a fine liner for the segment walls. Every color here is Semilac UV Hybrid, so each layer cures hard under lamp before you draw on top of it, which is what keeps thin lines from dragging.
How to paint a lemon slice step by step
Start with the accent nail in Cover Base Natural Pink, fully cured, so the slice sits on a soft neutral. A pale background keeps the yellow looking like fruit rather than a stain.
Place the slice off-center, then build it in this order:
- Paint a small white circle with Strong White 001 and cure: this is the pith that frames everything.
- Fill the inside with Luminous Lemon 604, leaving a thin white border, then cure.
- Draw fine white lines from the center outward to split the flesh into wedges, and cure once crisp.
Keep each white line under one brush-width and pull it in a single stroke, because reloading mid-line is where segments go fuzzy. Two thin passes of yellow beat one thick one, since a heavy coat floods the white pith and blurs the edges.
How to paint orange slices and zest
Orange wedges follow the same build as lemon, only the segments are tighter and the contrast is lower, so precision matters more. Lay Apricot Crush 600 over a cured white circle, then divide it with white liner lines that sit closer together than on the lemon. Aim for six to eight narrow wedges instead of four wide ones.
Zest is the detail that sells the fruit. Load a dotting tool with Strong White 001 and tap a scatter of tiny dots around the rind, varying the spacing so it looks like real peel texture. Use the smallest dotting head you have and barely touch the surface, because oversized dots flatten the illusion fast. This is the kind of crisp, fruit-forward detail our Gel Nail Polish formulas are built to hold without spreading.
How to get bright, opaque yellow
Yellow is the weakest pigment on the wheel, so a single coat almost always looks thin and uneven over skin tone. The fix is a white foundation: lay one cured coat of Strong White 001 first, then build the yellow on top. The white reflects light back through the color and makes it read solid in two coats instead of four.
Cure between every yellow layer and keep each coat thin, since stacking wet yellow is what causes that streaky, patchy finish. In our experience, the difference between a muddy lemon and a glowing one is almost always that hidden white base rather than the yellow itself.
Pro tips for crisp citrus segments
Crisp wedges come from cured layers, not a steady hand alone. Cure the background fully before any white line goes down, so the liner glides instead of digging into soft color. If a line wobbles, lift it with a clean brush before curing rather than painting over it.
Keep the segment lines slightly thinner than feels natural, because they always read a touch heavier once the top coat goes on. For a complete citrus nails set, work one slice per nail at most, and let the rest of the set stay solid color, which gives the eye somewhere to rest. Our range of warm yellows and oranges gives you room to vary the fruit across a full set without it turning loud.
Frequently asked questions about citrus nails
Can beginners paint citrus slices?
Beginners do well starting with a single lemon slice on one accent nail rather than a full fruit set. The wide wedges and soft background are forgiving, so a slightly uneven line still reads as fruit. Build up to tighter orange segments once the lemon feels comfortable.
What brush works best for thin segments?
A fine liner brush with a long, thin tip holds enough product to pull a full segment line in one stroke. A short detail brush handles the outline and the pith circle. Switching between the two keeps both the shapes and the lines clean.
Why does yellow look patchy?
Patchy yellow comes from skipping the white underlayer and trying to build coverage with the pigment alone. Lay one cured coat of white first, then two thin yellow coats with a cure between them. That sequence is what turns a streaky finish into a solid, bright slice.