How to Create Tropical Nail Art with Semilac Hybrid Polish
Bring summer to your manicure with tropical nail art designs inspired by island colours, exotic flowers and bold Semilac shades.
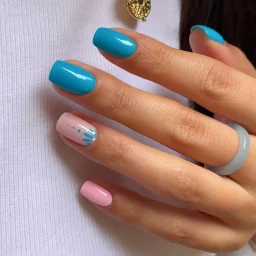
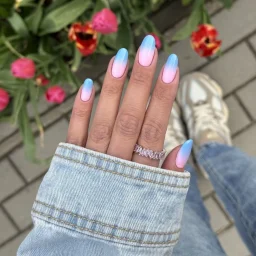
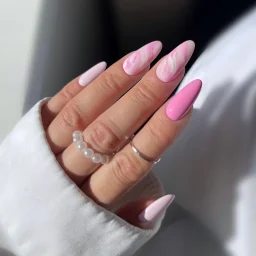
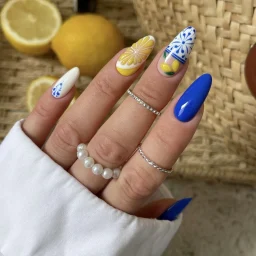
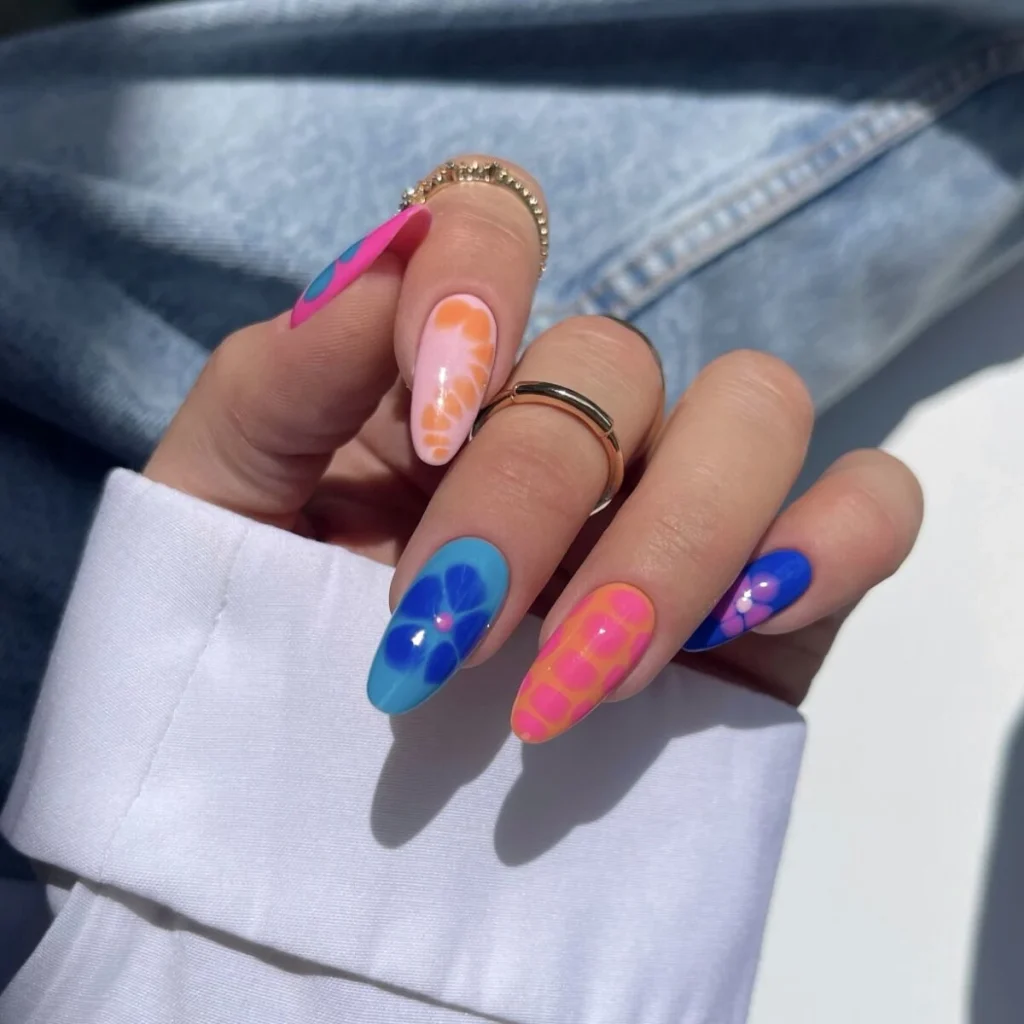
Tropical art looks busy until you build it in layers, and that habit separates a clean palm leaf from a green smudge. The goal is a bright, holiday-ready set: cobalt and neon almonds with marbled color and a white 3D bloom, sealed for sand and sunscreen. Tropical nails come together one layer at a time, so grab your liner!
Here is what this guide covers:
- Tool and color selection: the right liner, brush, and shades for tropical art
- Step-by-step motif painting: palms, monstera, fruit, and hibiscus in order
- Durability tips: how to seal detail art through a full holiday
What tools and colors you need for tropical nail art
Detailed work fails on the wrong brush more often than the wrong color. Use a fine liner for palm fronds and outlines, a short detail brush for fruit slices, and a dotting tool for seeds. A fine-point liner around 7 mm holds enough paint for one full frond in a single stroke, keeping lines from going patchy.
Color drives the look, so pick a saturated base and let the art sit on top. Deep cobalt reads like open water behind green leaves; a hot neon pulls the eye toward accent nails. Muted bases lose the motifs, so contrast makes the art pop.
The shades that carry a tropical nail art:
- Aegean Blue A706 – cobalt base that frames green leaves and white blooms
- Electric Rave 938 – neon brightness for accent nails and color-blocking
- Island Bloom A707 – warm tone under hibiscus petals and fruit pulp
- Sunset Glow A708 – peachy orange for sunset gradients and mango slices
In our experience the cleanest sets use two or three painted accents against solid color. The Semilac Hybrid Polish base needs full opacity in two coats, since patchy color shows through every gap. Two thin coats cure more evenly than one heavy coat.
How to paint palm leaves and monstera step by step
Both shapes grow outward from a central line, which is why beginners get cleaner results than expected. Paint over a fully cured base so mistakes wipe off the top coat without dragging color.
Work one nail at a time, in this order:
- Draw a thin curved stem down the nail with the liner, then cure it.
- Pull short strokes off both sides of the stem for a palm frond, angling each toward the tip.
- For monstera, paint a rounded heart shape, then cut into the edges with the base color to fake the splits.
- Cure, then run a lighter green vein down each leaf for depth.
Pull each frond stroke outward from the stem, never back into it, or the paint blobs. Keep the strokes uneven, since real fronds are never symmetrical. Curve any stroke that looks too straight at the tip before it sets.
How to paint fruit and hibiscus accents
Fruit accents carry the color story and belong beside the leaf nails. A pineapple is two shapes: a rounded yellow body with crosshatch lines and green spike top. Citrus and watermelon work as half-circles, with seeds added by dotting tool once the pulp cures.
Hibiscus rewards patience. Paint five overlapping petals, cure them, then pull a thin stamen from the center with the liner. A small 3D bead pressed into uncured top coat gives the bloom a raised look instead of a flat painted one.
The Gel Nail Polish formula holds pigment under a glossy top without dulling, so neon fruit stays loud instead of going chalky. Our range covers the yellows, corals, and greens these motifs need. A slow, even top coat pass avoids dragging the art before it cures.
How to keep detailed art lasting through a holiday
Detail chips first because raised paint sits above the seal, not inside it. Every painted layer needs a top coat that wraps over the edges and locks the art at the free edge. Run the brush over the nail tip with each sealing pass rather than stopping short.
Float a slightly thicker top coat over 3D elements so the gel surrounds them on all sides, then cure a few seconds longer than usual. A flat coat leaves the highest point exposed, exactly where straps catch. Two thin sealing passes beat one thick one, as thick gel shrinks when it cures.
Pro tips for clean tropical nail art
Restraint is what keeps tropical nails polished rather than crowded. Spread the load: one nail gets hibiscus, another gets palms, the rest stay solid or color-blocked. Two motifs per hand is usually the limit before designs start to compete.
Keep a clean liner dipped in cleanser within reach to sharpen any line before you cure it. Map your colors before the first stroke so the design reads as one set. Planning which motif goes on which finger upfront cuts mid-session decisions.
Frequently asked questions about tropical nail art
Can beginners paint palm leaves?
Palm leaves are among the most forgiving motifs because the strokes are short and uneven by design. Start with a thin stem and pull small angled lines off each side without aiming for symmetry. A wrong stroke wipes off the top coat without touching color underneath.
Which brush is best for small details?
A fine liner around 7 mm with a sharp point is best for fronds, outlines, and stamens. A short detail brush handles fruit shapes and a dotting tool covers seeds and flower centers. Keep all three within reach to switch tools rather than force the wrong one.
Should I do every nail or just accents?
Two or three accents against solid color read cleaner and last longer than art on all ten. Spreading detail keeps the set balanced and gives busy motifs room to breathe, with fewer raised edges to chip. Solid nails on the rest cut overall time.