Nail Art Brushes: Choosing the Best Tools for Semilac Gel Nail Polish Designs
Stop struggling with wobbly lines! Learn how to choose the perfect nail art brushes for Semilac gel polish. Master precision linework, petals, and color fills.
The nail art brushes in your hand shapes every line, petal, and dot you paint. Techs struggling with uneven fills or wobbly linework often overlook the biggest variable on the table – the brush. This guide breaks down brush selection for gel nail art, from liner work to color fills using Semilac Gel Nail Polish!
Here is what this guide covers:
- why brush choice affects precision, gel control, and the final look of every design
- how to match brush type and size to specific gel nail art techniques
- which mistakes to avoid and how to keep your nail art brushes performing longer
Why does nail art brushes choice matter so much for gel nail art?
Every gel design depends on the tool delivering it. Gel polish has a specific viscosity – thicker than lacquer, slower to self-level. The wrong brush drags product unevenly, creates streaks in fills, or makes a fine line wobble when it should be clean. A liner used for flooding base coat, or a flat brush used for petal strokes, produces results that skill alone cannot fix.
The nail’s shape adds another layer. Almond and stiletto nails require brushes that follow a curve without dragging at the lateral edges. Short square nails need a flat edge that fills corner to corner. Hybrid Nail Polish gel formulas – including the full Semilac UV Hybrid range – reward technicians who match the brush to the task. In our experience, brush selection is the variable most technicians reconsider after years of habit.
How to choose the right brush for each gel nail art technique
Start with the design, not the brush. Identify what the technique requires – coverage area, line width, dot size, or directional strokes – and then select the brush that matches. For standard color fills using Gel Nail Art designs or solid base applications, a flat gel brush in size #4 or #6 gives even coverage without streaking. The flat bristles glide across the nail plate in broad strokes and release product consistently across the whole surface.
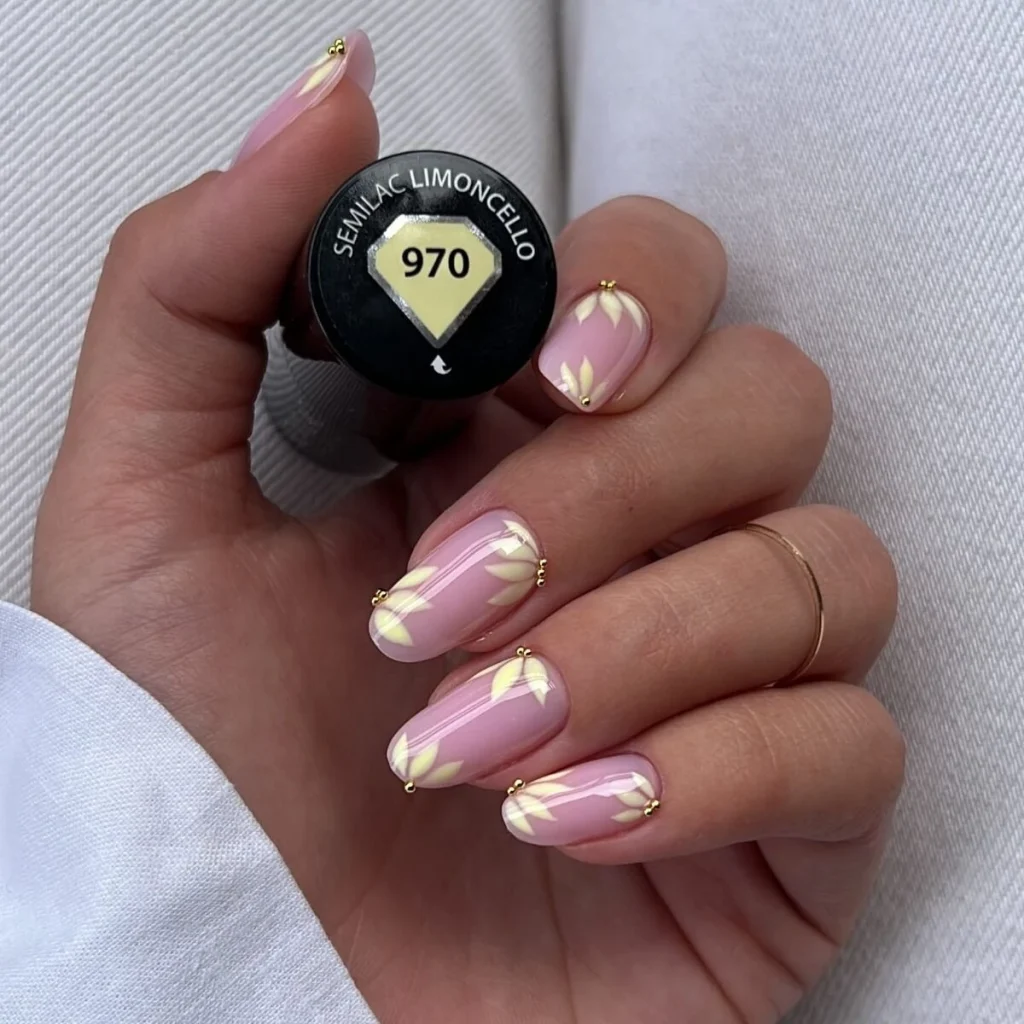
For detail work – thin strokes, petal shapes, or leaf motifs like those in Limoncello 970 – only a thin liner works. A soft milky base like Skin Tone Cover Base Milky Pink keeps line contrast visible. A liner with 8-12 mm bristle length gives enough flex for curved strokes. Shorter bristles are stiffer for straight lines; longer bristles bend with petal and leaf details.
The brushes that cover most gel nail art techniques:
- Flat gel brush (#4 or #6) – standard color fills, base coat application, smooth one-pass coverage on natural shapes
- Round detail brush (#2 or #4) – flower petals, short strokes, building shape in small areas without flooding surrounding gel
- Liner brush (thin, 8-12 mm bristle) – leaf strokes, thin lines, handwritten lettering, any design requiring a continuous fine mark
- Dot tool or silicone tip – caviar bead placement, dot accents, marbling – not a brush but works alongside the brush set for precision placement
The multitool as a brush companion
The Semilac Multitool 2in1 is worth keeping next to your brush set – the dual-end design covers most caviar and accent work. For a wider view of what else belongs on the table, our must-have accessories for hybrid manicures guide breaks down the full kit. The 0.6 mm tip handles fine marble veining and tight clusters; the 1.3 mm tip places accent beads in one clean press. Hold it like a pen – light vertical pressure gives the cleanest release.
Brush size and gel viscosity
Thicker gel formulas, including many in the Semilac Gel Nail Polish line, behave differently with small versus large brushes. A large flat brush picks up more product and distributes it evenly; a small liner deposits a finer bead for controlled detail. With builder or sculpting gels, use a larger brush with a light touch rather than a small brush with heavy pressure – heavy pressure compresses gel unevenly and creates ridges that don’t level under the lamp.
Common nail art brushes mistakes and how to keep your tools in shape
Acetone is the enemy of your brushes. It breaks down the glue in the ferrule – the metal band where bristles meet the handle – and causes bristles to splay over time. Clean gel brushes with a gel cleanser or isopropyl alcohol between colors, never acetone. A quick wipe on a lint-free pad between steps keeps the brush tip clean and responsive without degrading the bristle structure.
A second mistake is storing brushes bristle-down. Product pools at the ferrule and hardens, causing bristles to fan out permanently. Store brushes flat or bristle-up and cap them when not in use. Before using after storage, flex the tip gently on the back of your hand to restore the natural point.
Curing damage and lamp proximity
Finally, don’t cure product in the brush. If a brush sits under ambient UV light with gel on it, the product hardens in the bristles and the brush is done. Keep brushes away from the lamp and work under filtered light.
Building a gel nail art brushes kit that lasts
The brushes you rely on every day deserve the same attention as the products you apply with them. Match brush to design, clean with gel cleanser between colors, and store them flat or bristle-up. A small, well-kept set of four or five brushes will outperform a drawer full of neglected ones, and it gives you consistent results across every service.